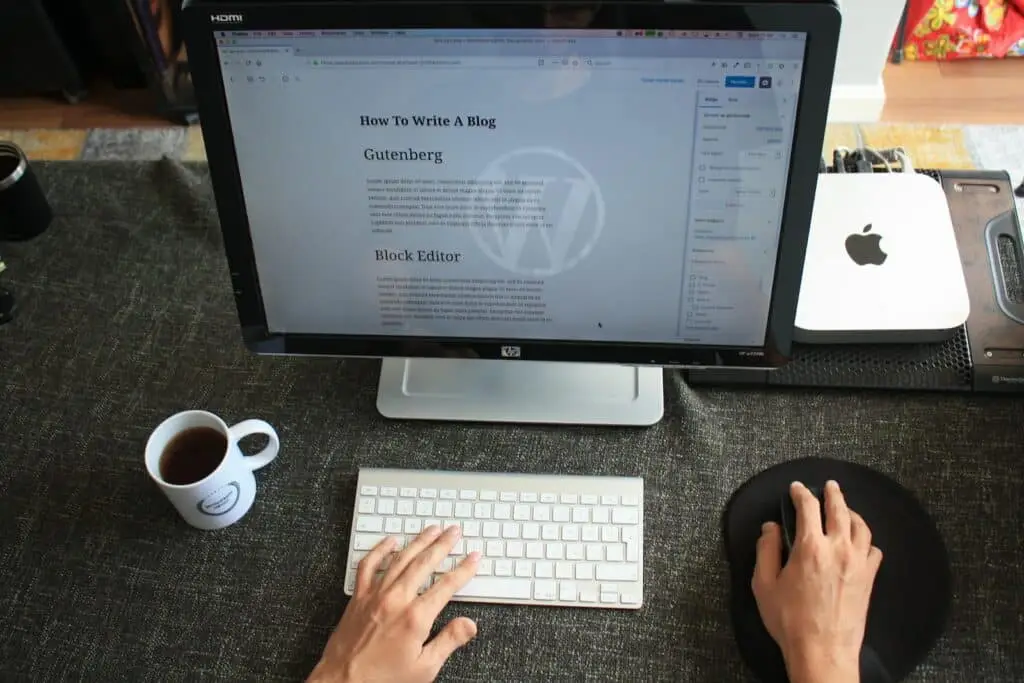
The visual editor of WordPress (WYSIWYG) is an essential tool for creating content on your website. It is a GUI-based editor that allows you to create visual content on your web page without having to know HTML or CSS code. In this comprehensive guide to creating content with the WordPress visual editor (WYSIWYG), we will show you how to best use this tool.
1. The text block
The text block is the first element you will encounter in the WordPress visual editor. It's a text box where you can type your content. To use the text block, just click on the words “Write your text here” and start typing.
The text you enter into the block can be formatted using the formatting tools above the block. You can select your text and then use formatting buttons like bold, italic, or underline to make your text stand out. You can also use the paragraph drop-down menu to select the text size and font.
2. Adding images
To add images to your page use the image block. Select the “Add Block” button and search for the image block or choose “Image” from the proposed choices.
Inside the dialog box, you'll be able to upload your images, enter a description (alt text), and choose how to display the image. You can choose to set the image to one of 3 predefined formats or set the dimensions by hand. You can also choose to align the image left, right, center or full screen.
Tip: Use high-quality images to make your page more attractive. To improve the SEO, also uses relevant descriptions (alt text).
3. Insertion of links
With the WordPress visual editor, you can insert links within the content. Click the “Link” button in the toolbar and a dialog box will open where you can enter the link URL and description.
You can also select one of your site's internal pages and create a direct link to that page. You can also use shortcut keys (Ctrl+K) to insert a link.
Tip: Include relevant internal and external links to improve user experience and boost SEO.
4. Inserting videos
Users love videos and WordPress' visual editor makes it easy to insert them. Use the video block and paste the YouTube or Vimeo video URL into the dialog box.
You can also choose the shape and size of the video. You can add a description to your video using the “Title” field.
5. List insertion
To create a list, select the “List” button in the WordPress visual editor toolbar. You can choose between an ordered list and an unordered list.
The ordered (numbered) list is useful for listing a series of points sequentially, while the unordered (pointed) list is useful for listing a series of points where the order is not important.
6. Inserting tables
Tabular elements can be useful when creating content to display it in a clear and organized way. To create a table, select the “Table” button in the WordPress visual editor.
You can choose the size of the table and the number of columns and rows. You can also choose to insert table headers and format each cell in the table with borders and backgrounds.
5 FAQs on WordPress WYSIWYG
1. Can I edit my content even after publishing it?
Absolutely yes. The WordPress visual editor allows you to edit the content of your website at any time. All you have to do is access the editor and make the desired changes.
2. How much time should I spend formatting my content?
This depends on the level of detail required for your content. If you're writing a blog post, you'll probably spend less time formatting the text than a white paper. In any case, content formatting is an important step to ensure that your text is readable and understandable for your readers.
3. Why should I put alt text in the image?
The alt text is a description of your image. Not only is this useful for users who use a screen reader to navigate your webpage, but it can also improve SEO because search engines like Google use the alt text to understand what the image contains.
4. How can content formatting impact SEO?
Content formatting is one of the factors that search engines (Google, Yahoo, Bing, ...) use to determine the relevance of your web page. Well-structured and formatted pages are considered more relevant than those with disorganized content.
5. How can I use Reusable blocks?
Reusable blocks are useful for content that needs to be used multiple times on your page. For example, if you're creating an “About Us” page, you can use a reusable block with the main content and place it on your main page and other pages on the site. This will make it easier to keep your changes updated across all pages.
[ad_2]
Vuoi avere più supporto per utilizzare al meglio l’editor visuale di WordPress? Non esitare a contattare la G Tech Group! Open a ticket or send an email to support@gtechgroup.it for personalized help with the Complete Guide to Creating Content with the WordPress WYSIWYG Editor. We are ready to help you!

