

[ad_1]
try itBuy it now for €18Request our support
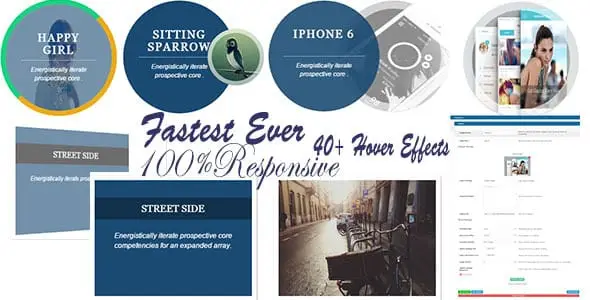
If you are looking for an effective way to render images on your website. WordPress more interactive and engaging, the plugin Image Hover Effects Is the perfect solution. With years of experience in the field SEO, I understand the importance of optimizing your website to improve user experience and attract visitors' attention. In this step-by-step guide, we will explore all the features of this plugin and how to best use it.
Introduction to Image Hover Effects
Image Hover Effects is a powerful WordPress plugin that allows users to add hover effects to images on their website. These hover effects can transform static images into interactive elements that capture visitors' attention and enhance the overall site experience.
Step 1: Installation and Activation of the Plugin
- Log in to your WordPress control panel: After logging into your WordPress website, go to the control panel section.
- Plugins: In the menu on the left, select "Plugins" and then "Add New."
- Search for the plugin: In the search bar, type "Image Hover Effects" and press "Search."
- Installation: Find the plugin in the search results, then click "Install Now." Once installed, click "Activate" to activate it.
Step 2: Upload and Customize Images
- Uploading an image: After activation, go to "Image Hover Effects" in the administration menu. Here you can start configuring hover effects.
- Select an image: Click on "Upload Image" to select the image to which you want to add the hover effect. You can also enter the URL of an external image.
Step 3: Choosing the Hover Effect
Hover effects: Image Hover Effects offers a wide range of effects to choose from. You can experiment with rotations, zooms, scrolling effects, and more. Select the effect that best suits your website and your needs.
Step 4: Advanced Customization
Customization: Once you have chosen the desired hover effect, you can further customize it. Adjust the transition speed, opacity, size and colors to achieve the desired look.
Step 5: Add Text or Icons
Text or Icons: Image Hover Effects allows you to add text or social icons to the image during the hover effect. This can be useful for providing additional information or related links to the image. Configure the desired text, target link and style of the additional element.
Step 6: Responsive Gallery
Responsive Gallery: An interesting feature of Image Hover Effects is the ability to display images in a responsive gallery. Images will automatically adapt to the size of the device, ensuring an optimal user experience on all devices.
Step 7: Advanced Customization with CSS
Customization with CSS: For advanced users, Image Hover Effects offers the ability to create custom styles via custom CSS. This allows you to create unique hover effects perfectly in line with your style and brand.
Step 8: Insert Hover Effect Images into Content
Generate the Shortcode Code: Once you have configured the hover effect for your images, the plugin automatically generates the necessary shortcode. Copy the shortcode and paste it in the desired location in your content to display the images with the hover effect on your website.
Conclusions
In conclusion, Image Hover Effects - WordPress Plugin is a powerful and versatile tool for enhancing the appearance of images on your website. With a wide range of hover effects and customization options, this plugin gives users the ability to create an engaging visual experience for website visitors. Whether you want to display a stylish image gallery or draw attention to a specific image, Image Hover Effects is an excellent choice. Optimize your WordPress site with Image Hover Effects and let your images speak for themselves!
If you experience any problems using this plugin or need assistance, do not hesitate to contact us opening a ticket by sending an email to support@gtechgroup.it or on WhatsApp at the number 0465 84 62 45.
[ad_2]